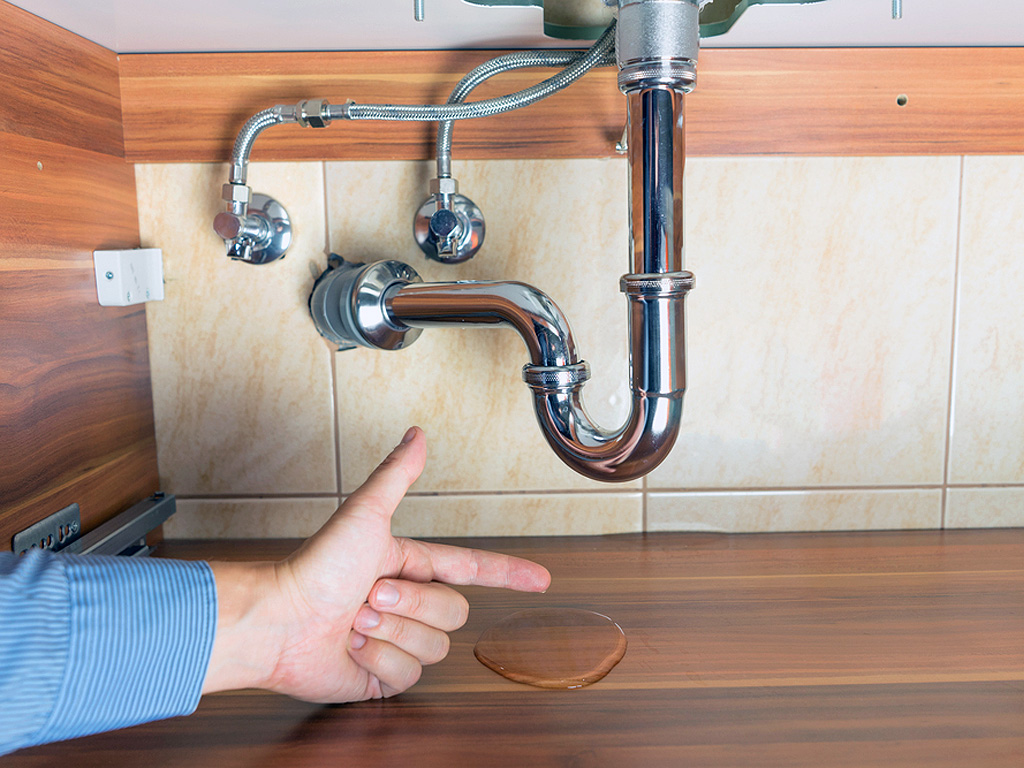
Replacing old, corroded, or leaking supply lines under a sink or toilet is a plumbing repair task that some homeowners feel comfortable undertaking on their own. It is vital that when installing new plumbing supply lines, they are installed correctly or else you may find yourself dealing with the same issues down the line. Learn key tips to ensure that your next plumbing supply line upgrade is a success.

Wrap your thread tape in the correct direction.
There are two ways to ensure a fully watertight connection when attaching a supply line to a water valve: pipe dope and thread tape. Of the two, thread tape is by far the easier to work with. Not only that, but it does just as good a job of protecting against leaks as does pipe dope–so long as you put it on correctly, that is.
The key here is to wrap your tape around the threaded supply valve in a clockwise manner. Applying tape in a counterclockwise direction will cause it to become unwrapped as you screw on your supply line. Likewise, it is important to wrap the tape at least five or six times around the threads. Those who only wrap it once or twice will get little benefit where preventing leaks is concerned.
Do not overtighten the supply line.
Screwing a supply line on too tight is one of the worst things you can do. Such overtightening will cause the metal threads inside of the line to become warped, making it much easier for water to slip past. It may also damage the rubber O-rings inside of the line. Only tighten the line as far as is necessary to prevent water from leaking out when you turn the fixture on.
If you would prefer to have a professional install your new supply lines, please do not hesitate to contact the experts at Kew Forest Plumbing & Heating.